
Help Deploying AutoCAD 2015 via K1000
Hi everyone!
As many of you know, AutoCAD recently provided Educational Institutions free access to the AutoCAD Education Master Suite. As a result of this, I'm not required to develop a new install for AutoCAD and its latest version (2015). Now, with 2014 the only means of installing the software on a mass scale was by creating a network installer and initiating the install manually on each machine that needed it. That was by selecting the Network Install option available on AutoCAD's site.
As many of you know, AutoCAD recently provided Educational Institutions free access to the AutoCAD Education Master Suite. As a result of this, I'm not required to develop a new install for AutoCAD and its latest version (2015). Now, with 2014 the only means of installing the software on a mass scale was by creating a network installer and initiating the install manually on each machine that needed it. That was by selecting the Network Install option available on AutoCAD's site.
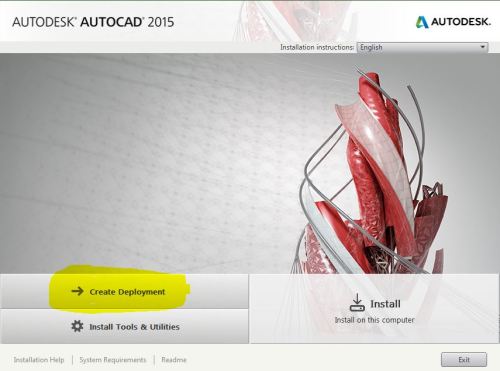
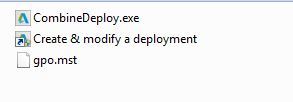
The network install is created by downloading the package from the site and selecting Create Deployment (shown below). However, I cannot find a way to migrate this to KACE.
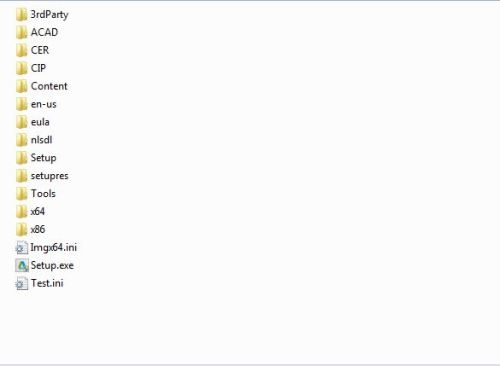
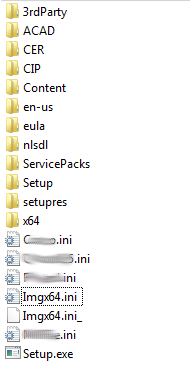
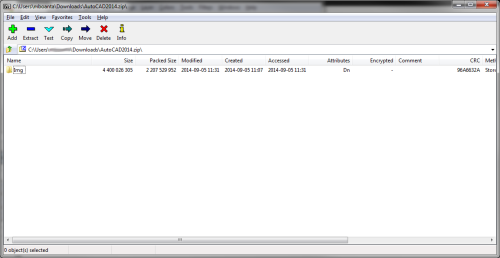
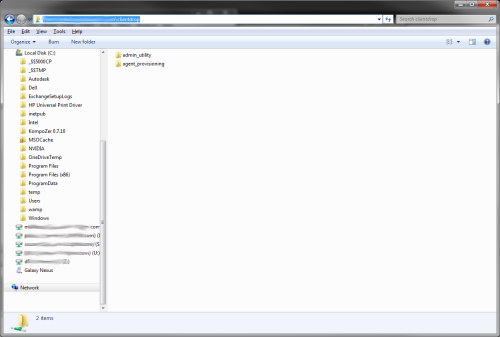
So now, I'm now seeing options for this version for a Multiseat Stand-alone installer. After selecting the Create Deployment option for a single user, I'm then able to generate a custom install. However, this only allows for one serial number and gives me an .lnk file. When zipped, the K1000 will not accept the package. Here are the files and folders the deployment tool generates.
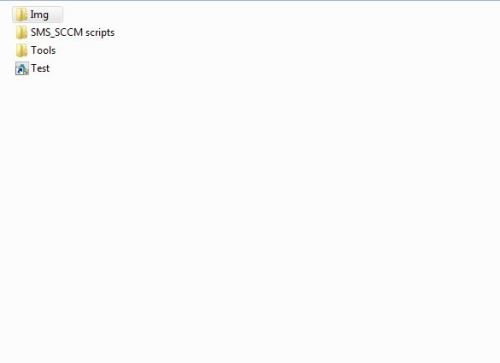
Root Folder
Img Folder
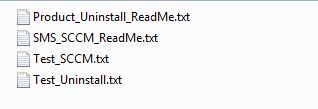
AutoCAD SMS_SCCM scripts Folder
Tools Folder
So my question is, what is the best way to install AutoCAD applications through the K1000 - or is it just not possible? If it is possible - how can it be done? Thanks so much!
2 Comments
[ + ] Show comments
-
Did you read the SMS_SCCM_ReadMe.txt file? I have often times been able to adapt the instructions for deploying through SCCM to a KACE installation. - chucksteel 9 years ago
-
Can you please suggest...how you get that "create deployment" because i m not getting above mentioned window - rajkk8689 9 years ago
Answers (2)
Please log in to answer
Posted by:
EdT
9 years ago

It is a while since I packaged Autocad, but from what I can remember, in order to deploy it silently to users, you have to create a sequence of installs which cover all the required pre-requisites for Autocad before you install the main package.
You don't mention your experience with MSI installs, but my first step would be to look for the main MSI installer which gets called by setup.exe and examine the InstallUI sequence to see what pre-reqs are installed during the UI phase. These tend to be called from the x64 or x86 folders depending on your operating system "bitness". The pre-reqs are normally to be found in the 3rd party folder. When you run an MSI install silently, the UI phase does not get run so the pre-reqs don't get installed - hence the need to do them separately when creating a silent deployment.
If I recall correctly, the older version of the Autocad install required seven separate installation processes to be done in sequence. The license key, if there is one, can often be passed as a command line public property when calling the main MSI install, which was the last step in my sequence of seven.
Posted by:
h2opolo25
9 years ago

1. Create a deployment in the EXACT same location each time for each serial # you want to use. At the end you will have one Img folder and in it you will have all the .ini files for each deployment.
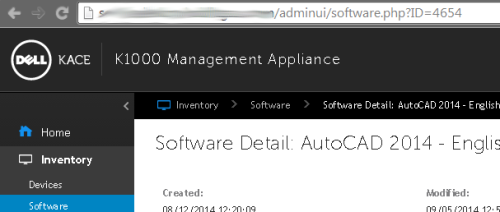
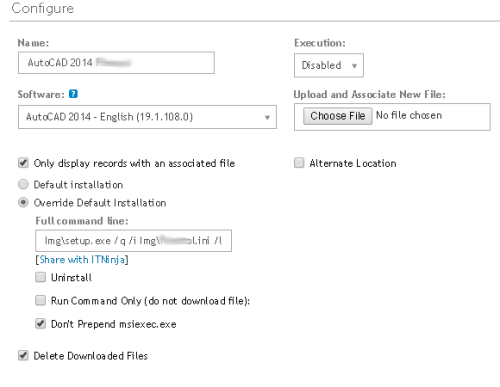

2. Make sure you are in the kace system using the AdminUI interface. Go to the AutoCAD software you want to install and you will see in the address bar the ID of that software (In the image below ID is 4654) When KACE downloads the software to the local PC it will put it in C:\ProgramData\Dell\KACE\downloads\4654 (For this example at least, switch this with your software ID).
3. Edit EACH .ini that was created at the root of the Img folder as follows...
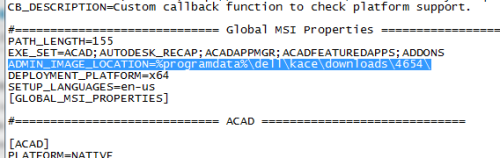
Under the Global MS Properties change the ADMIN_IMAGE_LOCATION path to: %ProgramData%\Dell\KACE\downloads\####\
Where #### is the ID of the AutoCAD software you are installing.
Do this for the Imgx64.ini as well.
4. Zip the Img folder. Make sure the zip archive has the actual folder in there, not just the contents. It will not work if you just have the contents.
5.Upload to KACE. If it's over 2GB, which it should be, then use the \\YOURKACEADDRESS\CLIENTDROP folder and copy the zip file there, then associate that file with your AutoCAD version from the software tab.
If you need to setup the password for your Samba share go to Settings>Control Panel>Security Settings>Samba and change it there. You WILL have to restart your KBOX if you change the password.
6. Create a managed install for the AutoCAD version you just uploaded the zip file to.
7. Check the "Override Default Installation" radio button.
Full Command Line: Img\setup.exe /q /i Img\****.ini /language en-us
****.ini is the file name of your .ini.
Check the "Don't Prepend msiexec.exe" checkbox.
REPEAT STEPS 6-7 FOR EACH INI FILE YOU HAVE IN THE ZIP FOLDER.
At the end you should have a managed install for each serial #.
