
First, the KBOX needs to be configured to accept mail. The only thing needed to start with is to configure the email addresses that will be accepted so mail will be received on the KBOX. To do this, follow these steps:
- Go to the Help Desk->Configuration->Queues.
- Confirm that the domain suffix for the email address column is correct (ie. Kbox.mycompany.com) (red).
- Type in the name of the Queue (green).
- Type in the email address for the queue (orange).
- If desired type in an alternate email address which will modify the from of email sent from the KBOX (blue). This is the email address that your end users will use:
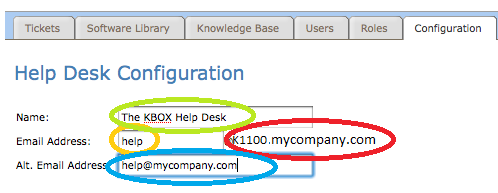
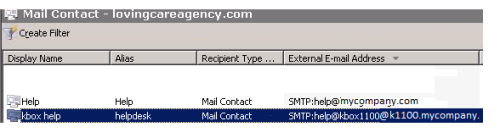
NOTE: The value circled in orange MUST match the prefix of the address circled in blue. - Create a mailbox or contact that your employees can address via Active Directory. Example: help@mycompany.com.
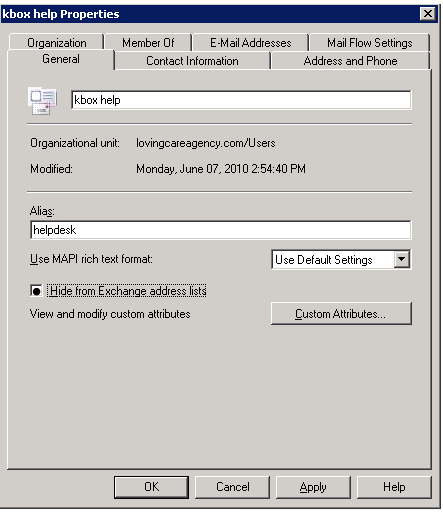
- Create a contact that represents the K1000. Make sure the contact exists in Active Directory with the address of your K1000. This cannot be a mailbox.
NOTE: Make sure that this user's primary address is as above. You may need to turn off automatic updates of recipient policy to accomplish this. - Hide this user from the address lists by choosing the option Hide from Exchange address lists:
- Create a Transport Rule to redirect mail to the K1000 within the Exchange Management Console.
Go to Organization->Hub Transport. Click on the Transport Rules tab. Select New Transport Rule. On Introduction set it any name and make sure it is enabled. On Conditions step choose sent to and follow the hyperlink and locate the user with the address help@mycompany.com. On Actions step choose redirect the message to and follow the hyperlink and locate the user with the address help@k1100.mycompany.com. Complete the rule.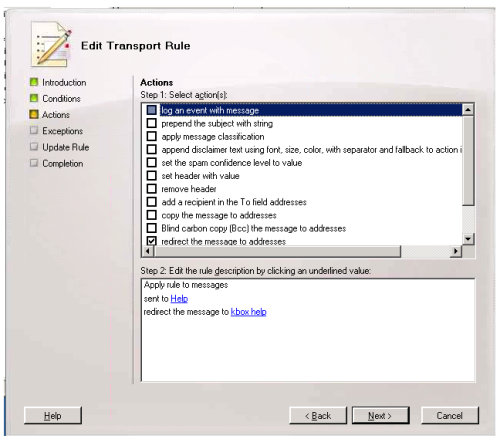
The Transport rule is now ready. - Create a Send Connector to perform the communication between Exchange 2007/2010 and the KBOX in the Exchange Management Console by:
Organization->Hub Transport. Click on Send Connectors tab. Select New Send Connector.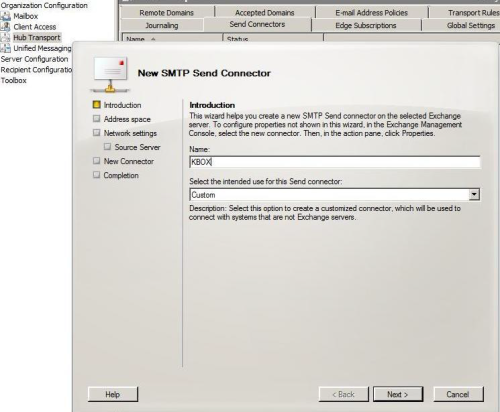
Provide your desired name for the Send Connector and select Custom for the Intended use for this Send Connector then click Next. On the Address space page Click Add.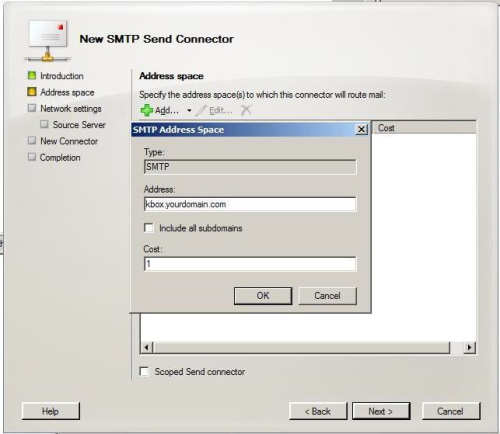
Input the Suffix portion of the kbox email address (should start kbox.) in the Address portion of the SMTP Address Space window, leave the Include all subdomains box unchecked and the Cost set to 1. Click OK. Click Next on the Address Space page. On the Network settings page select the Route mail through the following smart hosts radio button.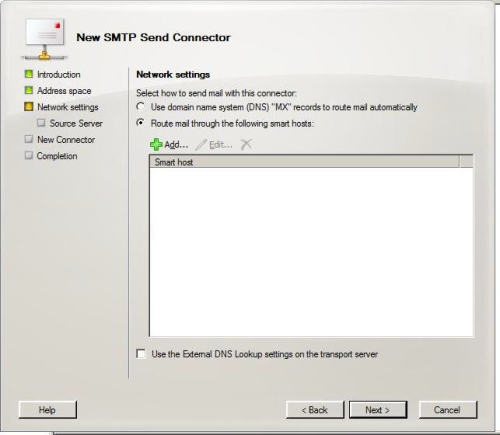
Click Add. In the IP Address field input the IP address for the KBOX then click OK.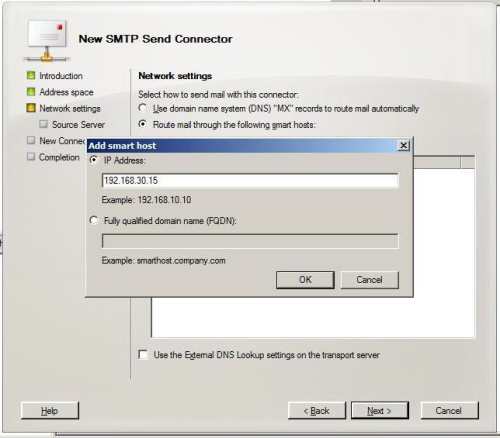
Click Next. On the Configure smart host authentication settings page leave the radial button selecting None and click Next.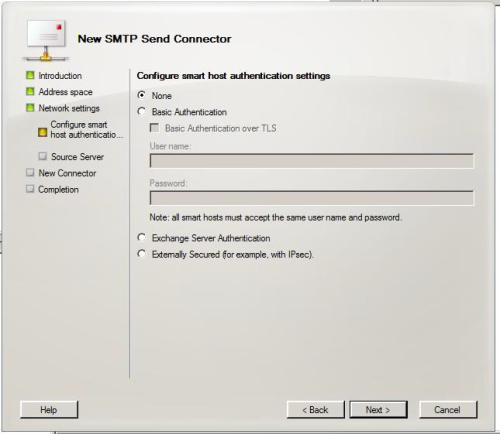
On the Source Server page you should see your Exchange Hub Transport server listed, If you have more than one you may want to add them to this page.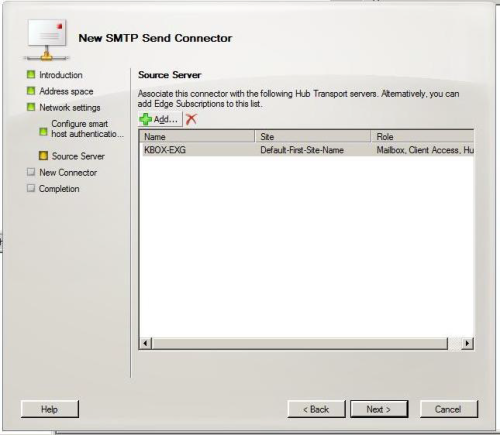
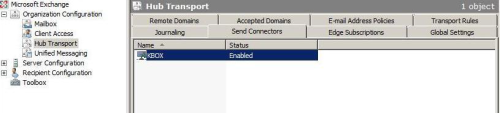
Click Next. On the New Connector Page, click New. On the Completion page click Finish. Now in your Organization Configuration Hub Transport you should see the new Send Connector on the Send Connectors Tab.
Note: Test email flow at this point. Check to see if email sends and receives because a Receive connector is not always necessary to create and is only an optional necessity. If you still do not receive email sent by the KBOX, then continue on to step 11 in creating a receive connector. - Next is to create the Receive Creator in Exchange.
Under Server Configuration>Hub Transport. Select New Receive Connector.
Give the Connector a name. Select Custom for the intended use.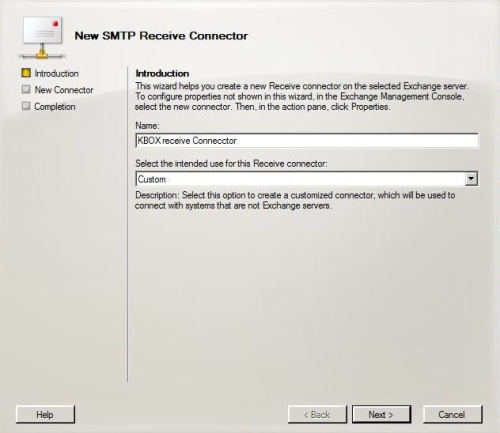
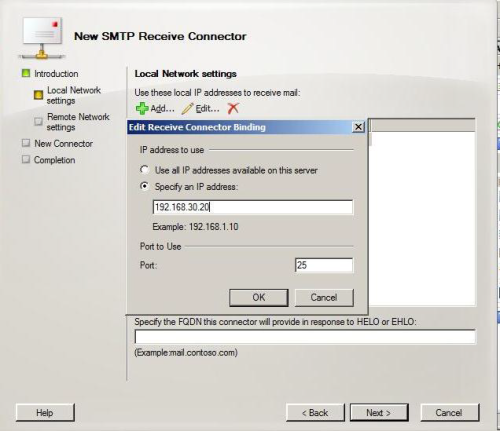
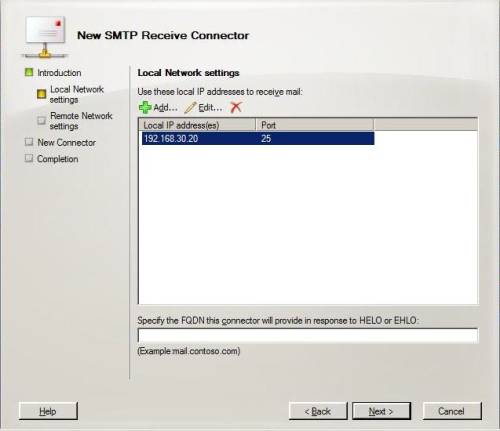
Click Next. On the Local Network Settings page specify the IP address you want to receive mail on from this connector (this will be the IP address you inputted on the KBOX as the SMTP server address).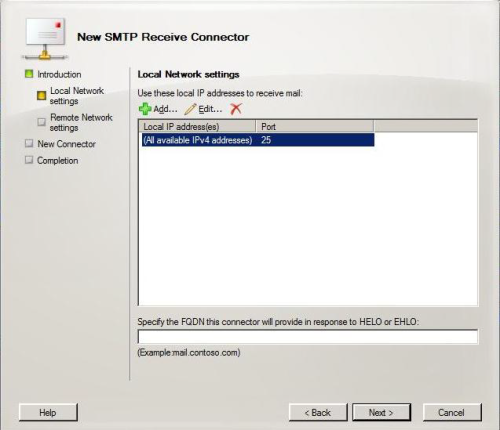
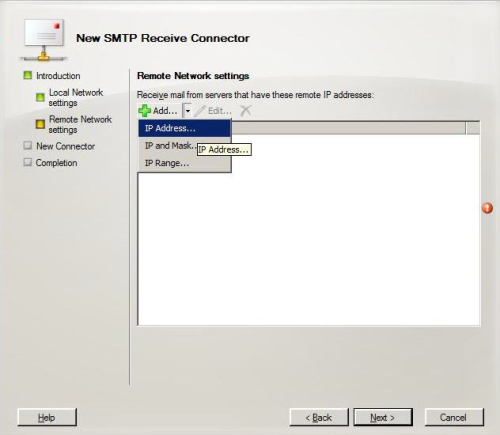
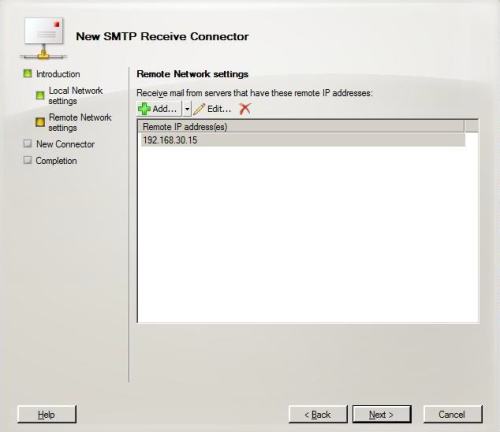
Click Next. On the Remote Network Settings page specify the IP address of the server you will be receiving email from (this will be the IP address of the KBOX) – You may want to go ahead and delete the default configuration.

Click Next. On the New SMTP Receive Connector page verify the information is correct and click New.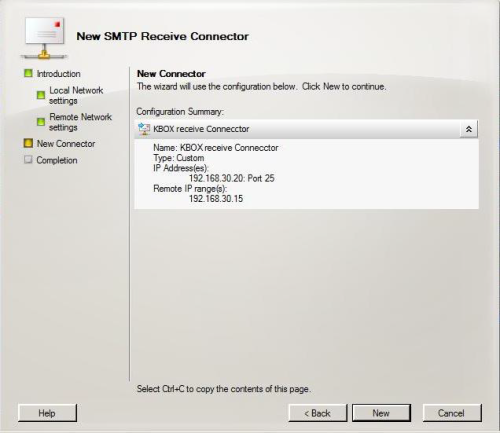
After Exchange configures the receive connector click Finish and your receive connector should now show up in the list.
NOTE: Test by sending your Help Desk a test email. If it is unsuccessful, please contact KACE technical support.

With the receive connector I had to allow "exchange servers" in the permissions tab and under the authentication tab select "Externally secured"
This prevented the error "5.7.1 Unable to relay".
screenshots in this link http://www.techrepublic.com/blog/networking/exchange-2007-how-to-allow-relay-exceptions/373 - JonathonV 11 years ago